Sourdough: Indoor foraging
By Daniel Butler: Author and forager
All mycophiles ought to try making their own bread and some of the most interesting and delicious rely on ‘wild’ yeasts. As with larger edible mushrooms, the concept is frightening to many modern minds because it requires abandonning food to the randomness of natural decay.
All levened bread relies on yeasts, but genuine sourdough uses foraged free wild fungi
(Picture: Author’s own)
Sourdough has gained hugely in popularity over the past two or three decades, as we have become more adventurous in our dietary habits. Breads such as ciabatta and various rye-based North European recipes have become popular. At first most people were introduced to these via foreign travel, delicatessens and supermarkets, but bread-making at home began to take off (and was greatly boosted by Covid lockdowns). Pots of sourdough cultures could be bought online or were given as gifts by friends. These certainly work, but at quiet points of the mushroom year it is fun to mount a microbial foray in the comfort of your own home.
Wild yeasts are everywhere – as you read thousands of spores will have invaded your lungs. This is a constant process and they do no harm, but when they land on damp carbohydrates they get to work, breaking these down to multiply while making alcohol and releasing carbon dioxide – the last being the critical raising agent in bread making.
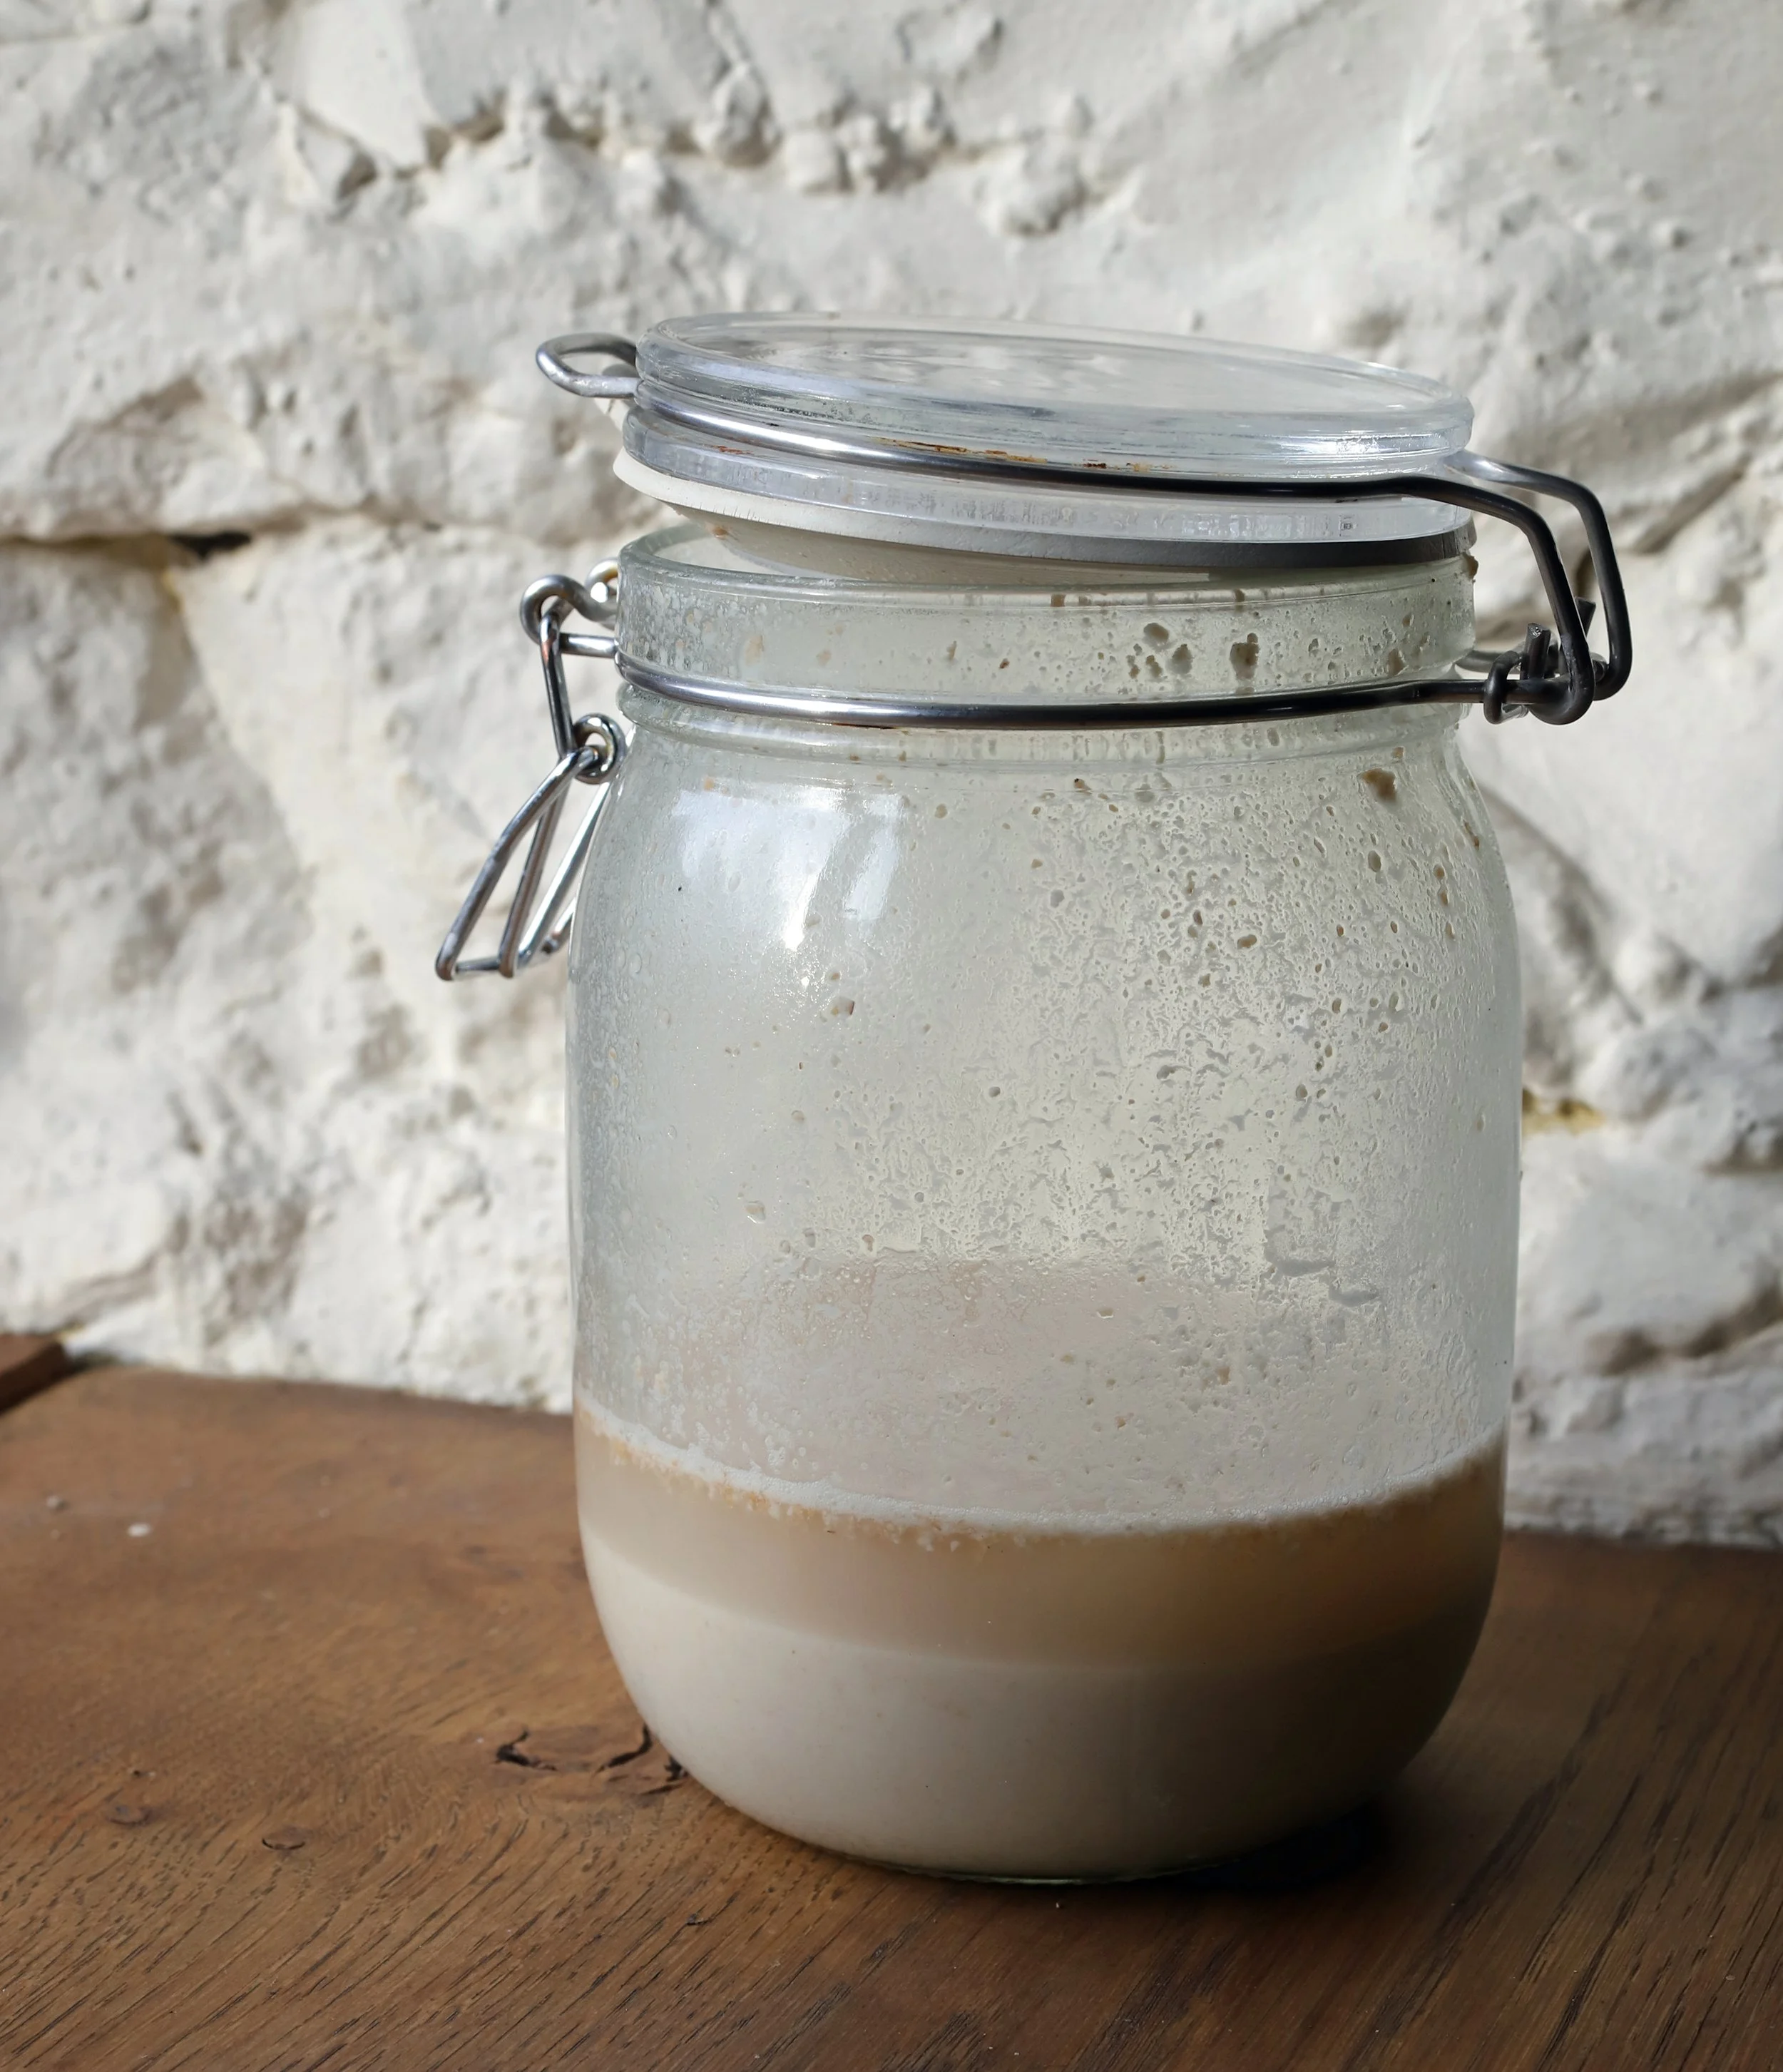
Starting your own wild yeast culture on a window sill is easy
(Picture: Author’s own)
To harvest your own wild yeasts, take a couple of tablespoons of flour (wholemeal is good: spelt even better). Whisk this into a batter with a half a glass of water. Then leave the milky liquid in a jar covered with a bit of muslin/cheesecloth secured with a rubber band on the windowsill.
After two or three days, tiny bubbles will begin to appear on the surface. This is the time to put the mix in a loosely-topped jar in the fridge. Every couple of days, use about half of the liquid to make bread (or pour it down the sink) and top up the remainder with fresh flour and water.
The concoction is now effectively a nutrient soup, laden with wild yeasts. Certainly it is weaker than it’s normal, cultivated, version, but this is actually an advantage because it works more slowly to produce a denser, chewier, loaf.
Basic recipe
2 tbsn Soughdough culture, made up to 350 ml/g with water
500g Flour
5g Salt
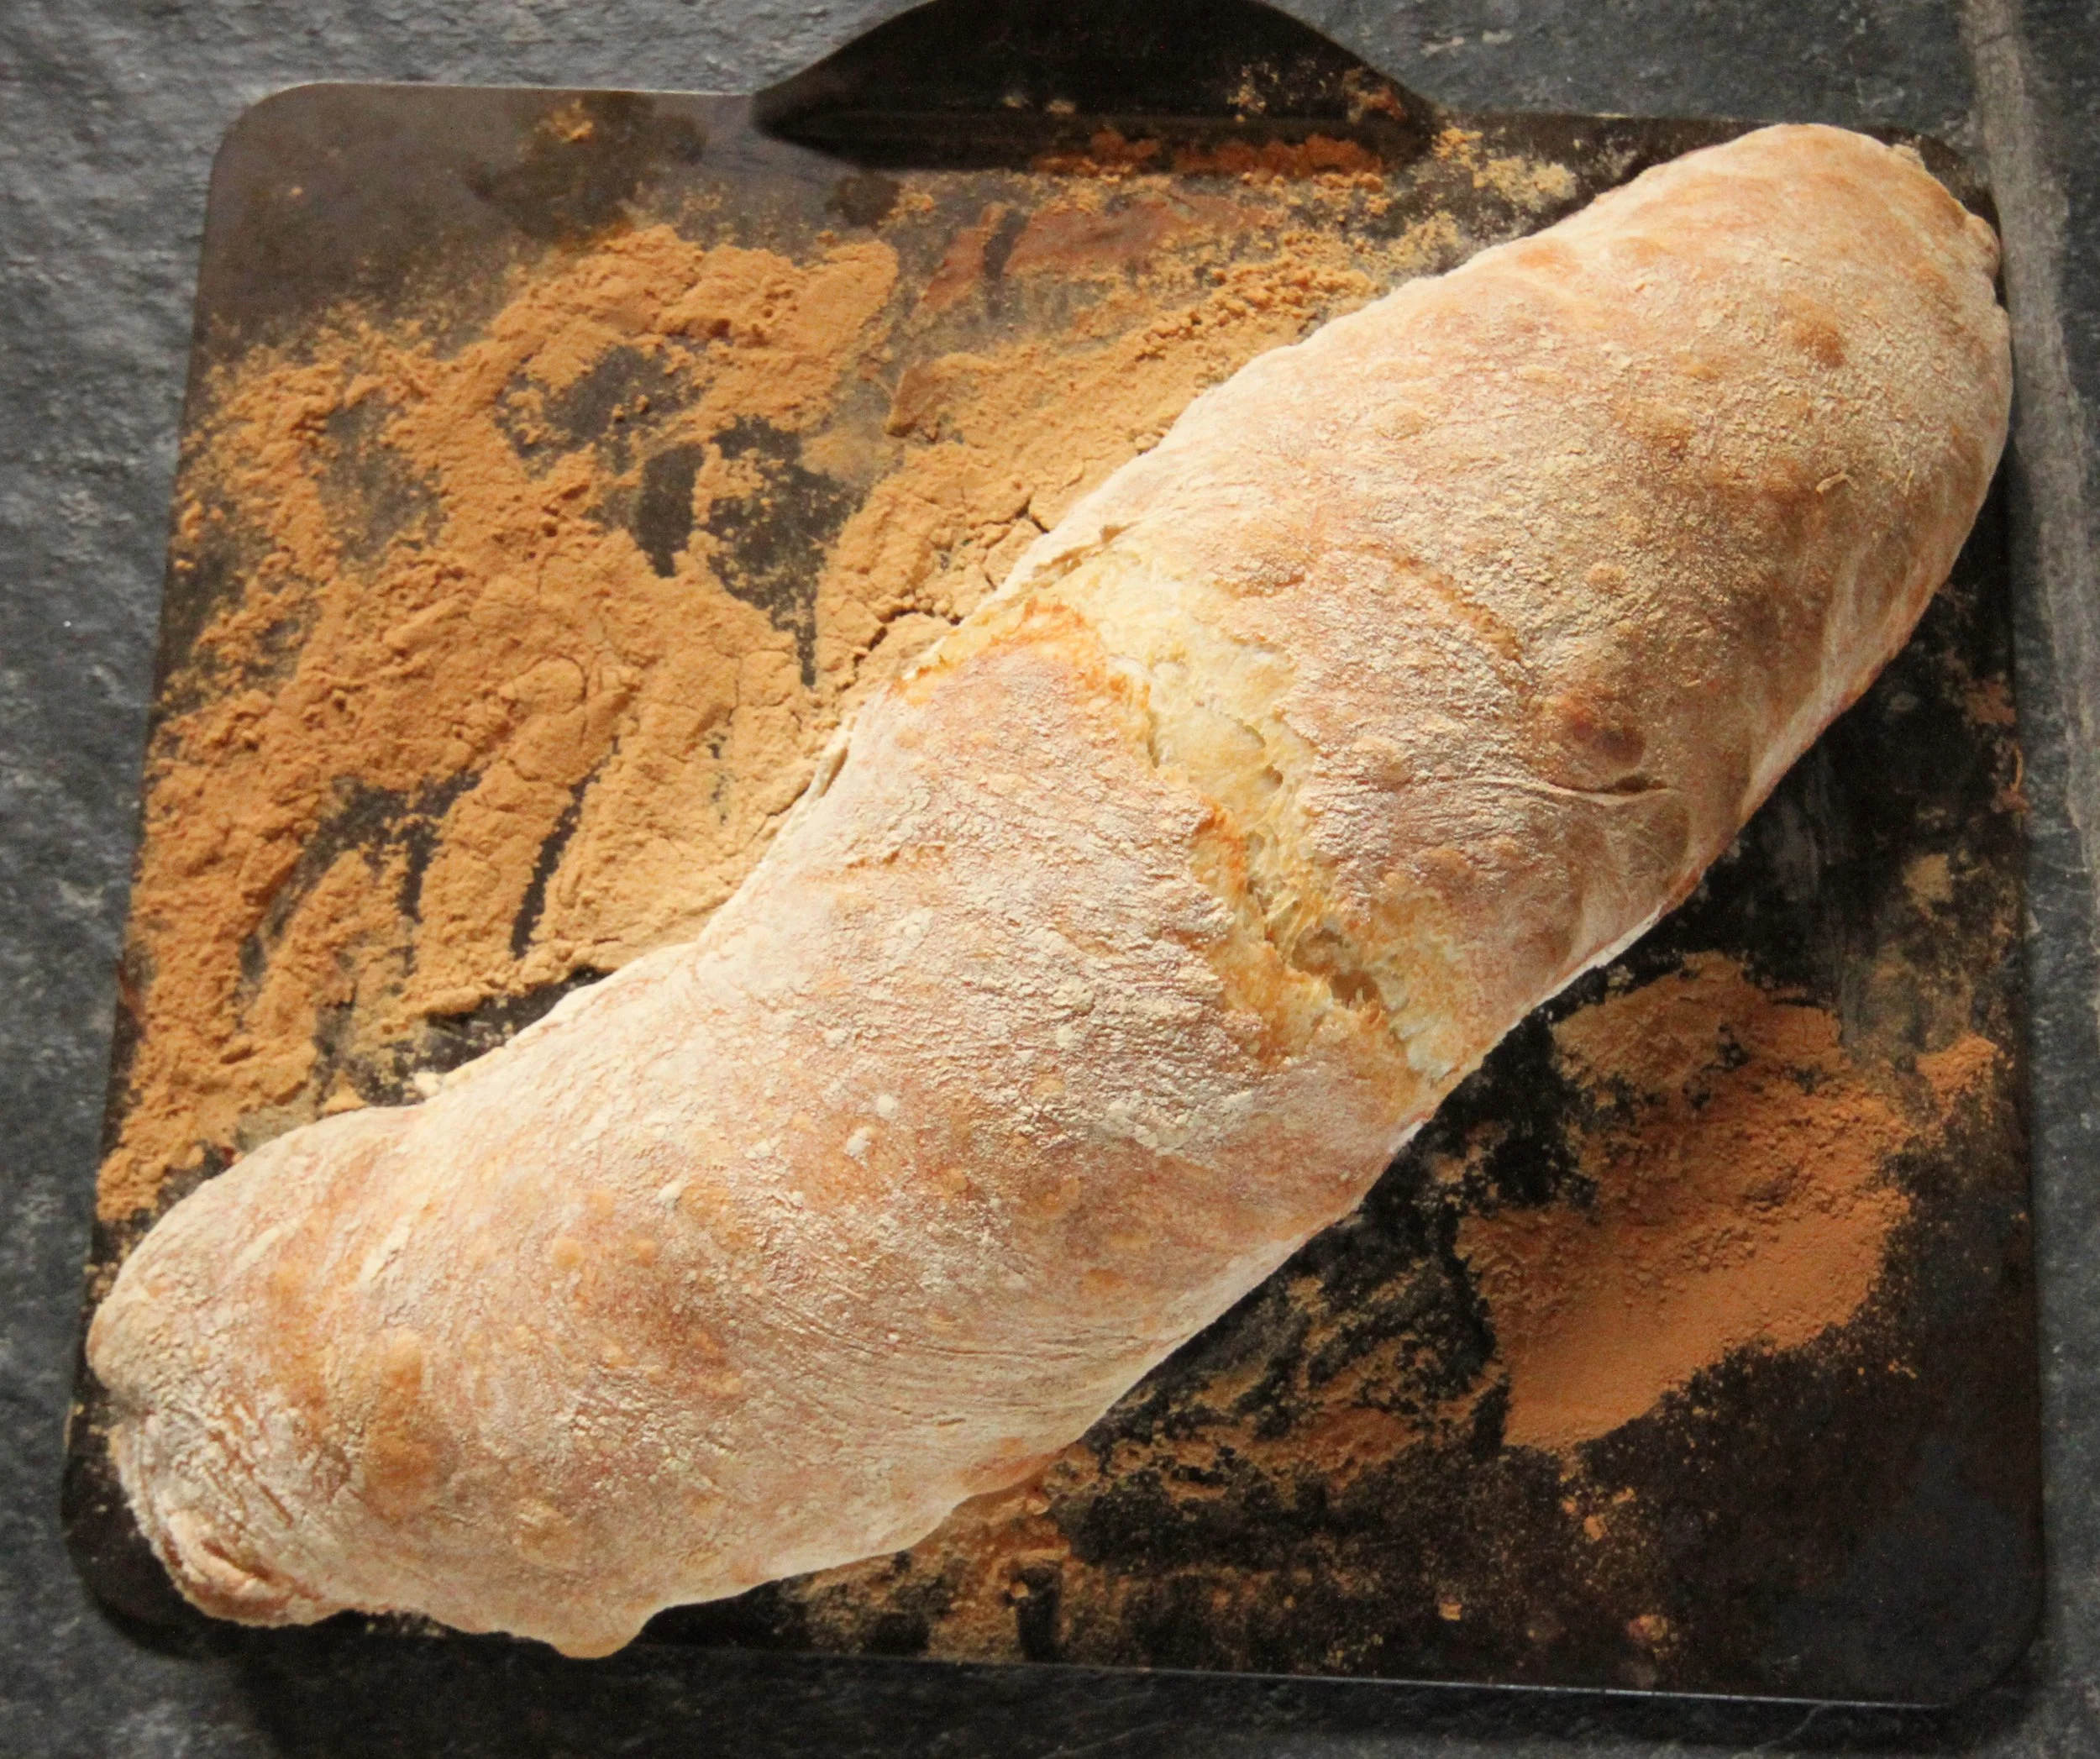
Mix the ingredients to make a moist dough. Because the culture is variable, you may need to add a little more water or flour to keep it decidedly damp. Knead it for at least 10 minutes (this breaks down some of the longer starch molecules and is important to the final texture). The wet dough will stick to your hands, so it is easiest to use a bread machine or food processor, but you can do it manually if you rub your hands with oil.
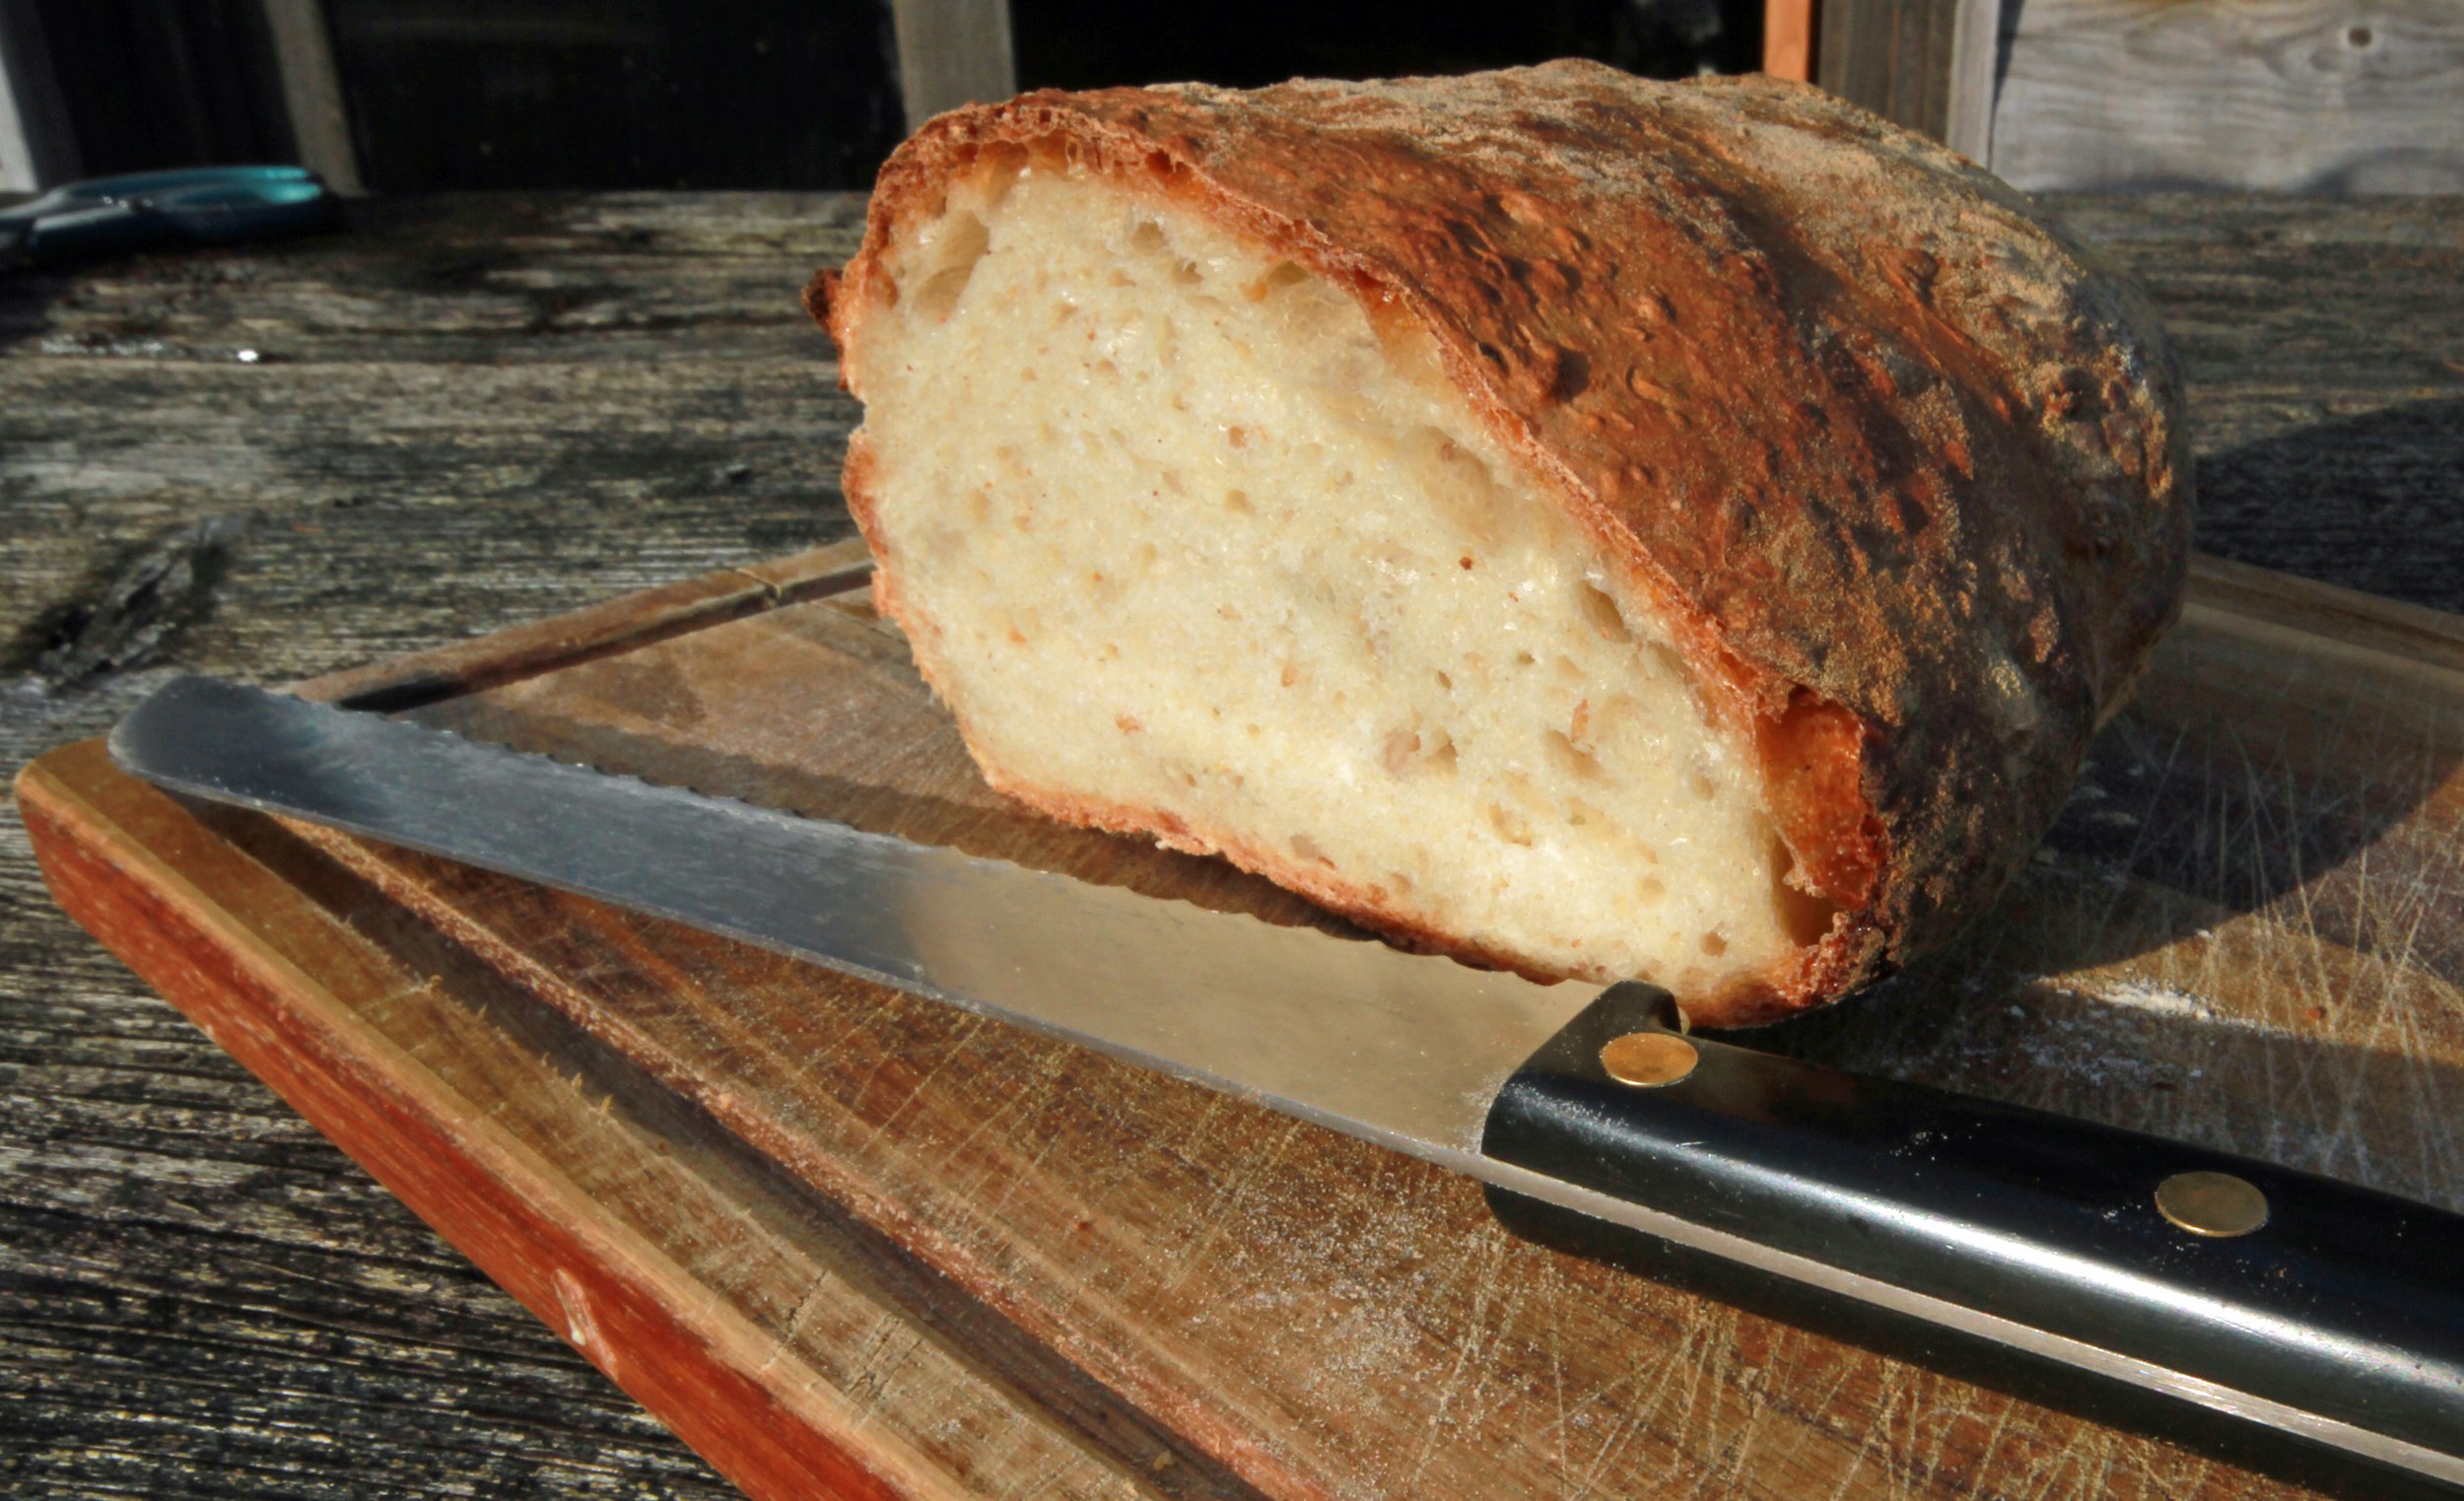
Homemade sourdough ciabatta (400g strong white with 100g ‘country grain’ flour)
(Picture: Author’s own)
Leave to prove for a couple of hours, then bash it around again for a few minutes and cover with a tea towel and leave to rise again. The yeasts are weaker than commercial varieties, so this stage takes a while – leaving it overnight is a good idea. Heat the oven to 200C and bake for about 20 – 30 minutes depending on the shape and thickness. Try using a variety of flours: for example about 60% strong white flour will produce a lighter loaf. Adding seeds such as sesame or pumpkin will add texture and healthy roughage.